


关于seata微服务组建的部署,可谓是花费了我两天的时间,原生部署总是遇到问题,在原生部署的时候,遇到几个无法解决的问题:
问题一:
/Library/Java/JavaVirtualMachines/jdk1.8.0_181.jdk/Contents/Home/bin/java -server -Dloader.path=../lib -Xmx2048m -Xms2048m -Xmn1024m -Xss512k -XX:SurvivorRatio=10 -XX:MetaspaceSize=128m -XX:MaxMetaspaceSize=256m -XX:MaxDirectMemorySize=1024m -XX:-OmitStackTraceInFastThrow -XX:-UseAdaptiveSizePolicy -XX:+HeapDumpOnOutOfMemoryError -XX:HeapDumpPath=/Users/min.ji/Git/github/seata/distribution/logs/java_heapdump.hprof -XX:+DisableExplicitGC -XX:+CMSParallelRemarkEnabled -XX:+UseCMSInitiatingOccupancyOnly -XX:CMSInitiatingOccupancyFraction=75 -Xloggc:/Users/min.ji/Git/github/seata/distribution/logs/seata_gc.log -verbose:gc -XX:+PrintGCDetails -XX:+PrintGCDateStamps -XX:+PrintGCTimeStamps -XX:+UseGCLogFileRotation -XX:NumberOfGCLogFiles=10 -XX:GCLogFileSize=100M -Dio.netty.leakDetectionLevel=advanced -Dapp.name=seata-server -Dapp.pid=68288 -Dapp.home=/Users/min.ji/Git/github/seata/distribution -Dbasedir=/Users/min.ji/Git/github/seata/distribution -Dspring.config.location=/Users/min.ji/Git/github/seata/distribution/conf/application.yml -Dlogging.config=/Users/min.ji/Git/github/seata/distribution/conf/logback-spring.xml -jar /Users/min.ji/Git/github/seata/distribution/target/seata-server.jar Error: Unable to access jarfile /Users/min.ji/Git/github/seata/distribution/target/seata-server.jar
这个问题大致就是说,找不到相关的jar文件,但是在找到jar文件后, 运行目标文件,还是会出现同样的问题,所有能改的,能排除的问题,启动后,都会指向同一个问题.,在查阅多位博主的文章后,没看到相关问题的方法
问题二:
apm-skywalking not enabled JMX disabled /usr/bin/java -Dlog.home=/root/logs/seata -server -Dloader.path=/home/zfc/java/seata/lib -Xmx2048m -Xms2048m -Xss640k -XX:SurvivorRatio=10 -XX:MetaspaceSize=128m -XX:MaxMetaspaceSize=256m -XX:MaxDirectMemorySize=1024m -XX:-OmitStackTraceInFastThrow -XX:-UseAdaptiveSizePolicy -XX:+HeapDumpOnOutOfMemoryError -XX:HeapDumpPath=/root/logs/seata/java_heapdump.hprof -XX:+DisableExplicitGC -Xlog:gc*:file=/root/logs/seata/seata_gc.log:time,tags:filecount=10,filesize=102400 -Dio.netty.leakDetectionLevel=advanced -Dapp.name=seata-server -Dapp.pid=4406 -Dapp.home=/home/zfc/java/seata -Dbasedir=/home/zfc/java/seata -Dspring.config.additional-location=/home/zfc/java/seata/conf/ -Dspring.config.location=/home/zfc/java/seata/conf/application.yml -Dlogging.config=/home/zfc/java/seata/conf/logback-spring.xml -jar /home/zfc/java/seata/target/seata-server.jar -h 192.168.137.47 -p 8091 >> /dev/null 2>&1 & seata-server is starting, you can check the /root/logs/seata/ *.log
这个问题是,启动成功了,但是,后台服务并没有起来,而是起来了,又掉了!毫无作用
后来总结了一下,可能还是存在版本的问题,1.5版本的试过了,最终还是使用 docker 来进行部署
最终的部署版本是1.61.
部署的流程:
首先在个人服务器(宿主机)下创建一个 application.yml文件
#  Copyright 1999-2019 Seata.io Group.
#
#  Licensed under the Apache License, Version 2.0 (the "License");
#  you may not use this file except in compliance with the License.
#  You may obtain a copy of the License at
#
#  http://www.apache.org/licenses/LICENSE-2.0
#
#  Unless required by applicable law or agreed to in writing, software
#  distributed under the License is distributed on an "AS IS" BASIS,
#  WITHOUT WARRANTIES OR CONDITIONS OF ANY KIND, either express or implied.
#  See the License for the specific language governing permissions and
#  limitations under the License.

server:
  port: 7091

spring:
  application:
    name: seata-server

logging:
  config: classpath:logback-spring.xml
  file:
    path: ${user.home}/logs/seata
  # extend:
  #   logstash-appender:
  #     destination: 127.0.0.1:4560
  #   kafka-appender:
  #     bootstrap-servers: 127.0.0.1:9092
  #     topic: logback_to_logstash

console:
  user:
    username: seata
    password: seata

seata:
  config:
    # support: nacos, consul, apollo, zk, etcd3
    type: nacos
    nacos:
      server-addr: ip:8848 #nacos地址
      namespace: dev #命名空间
      group: DEFAULT_GROUP #分组
      data-id: seataServer.properties
  registry:
    # support: nacos, eureka, redis, zk, consul, etcd3, sofa
    type: nacos
    nacos:
      application: seata-server
      server-addr: ip:8848 #nacos地址
      group: DEFAULT_GROUP #分组
      namespace: dev #命名空间
      # tc集群名称
      cluster: default
#  server:
#    service-port: 8091 #If not configured, the default is '${server.port} + 1000'
  security:
    secretKey: SeataSecretKey0c382ef121d778043159209298fd40bf3850a017
    tokenValidityInMilliseconds: 1800000
    ignore:
      urls: /,/**/*.css,/**/*.js,/**/*.html,/**/*.map,/**/*.svg,/**/*.png,/**/*.ico,/console-fe/public/**,/api/v1/auth/login
这里的ip对应的是你的局域网或者服务器的ip,自行修改即可,data-id 和命名空间分别是你在注册nancos 时候创建的
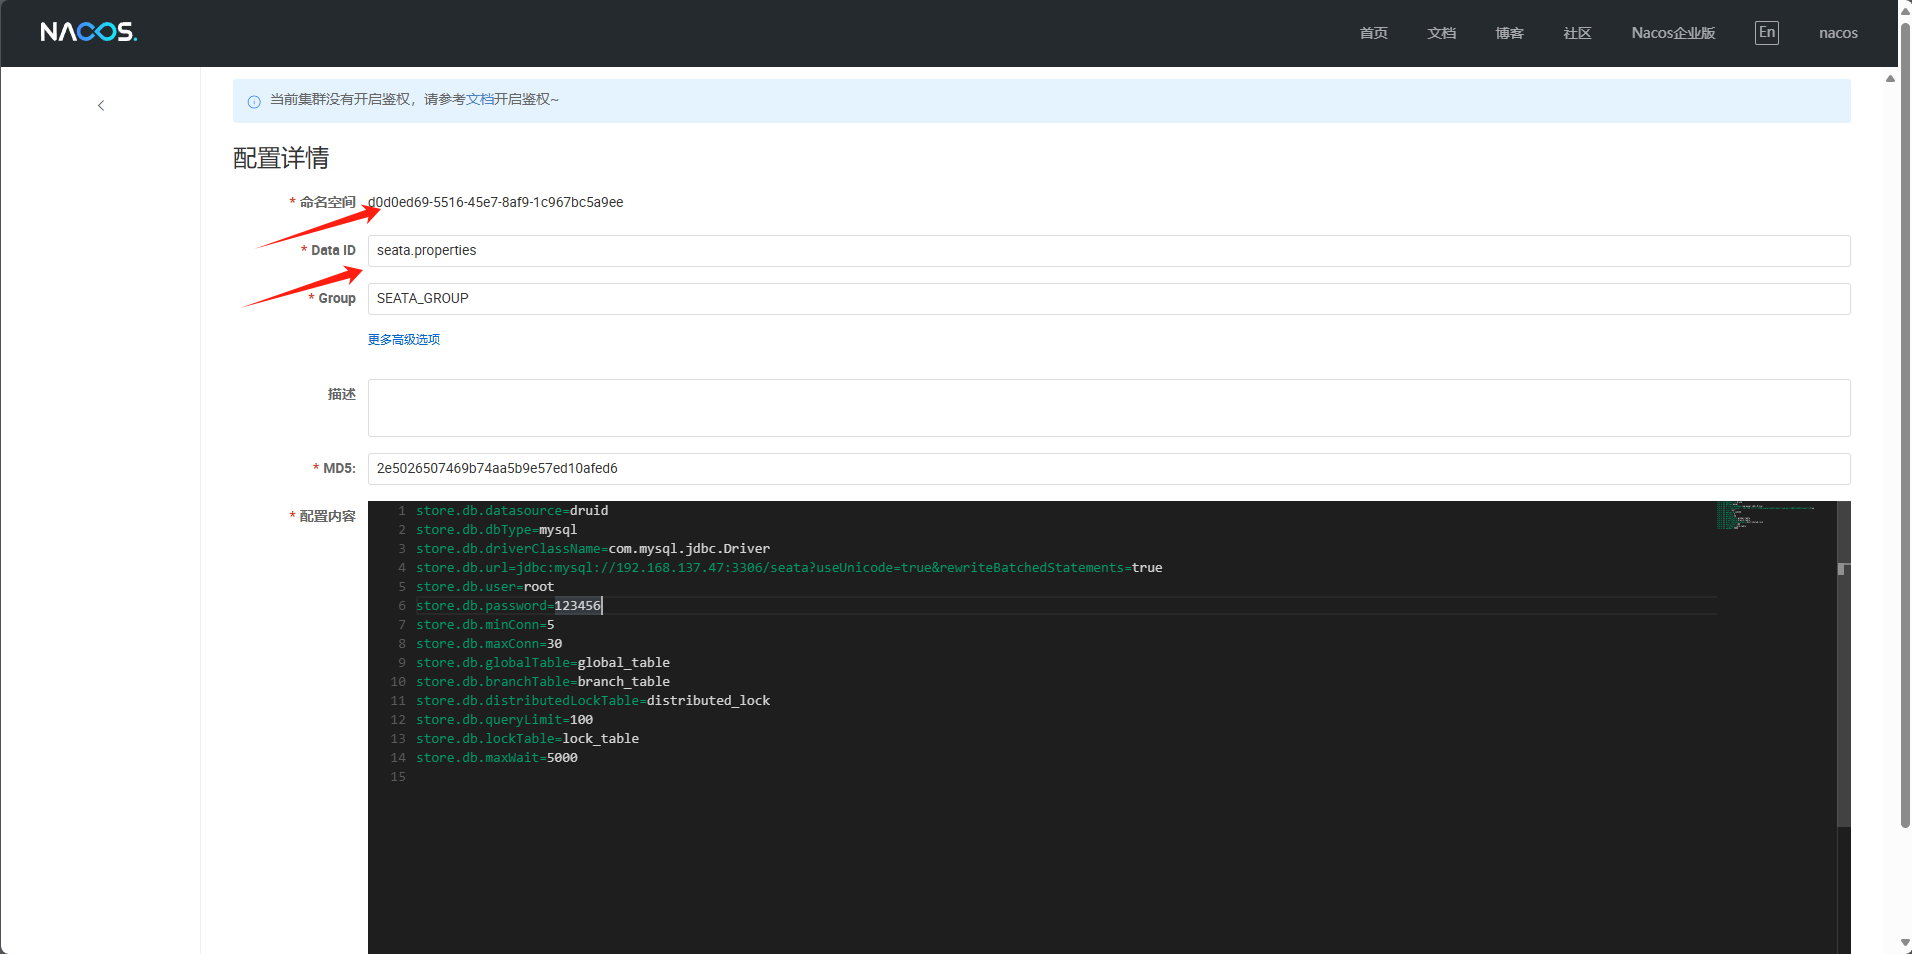
在nacos 中 创建一下配置文件
store.db.datasource=druid
store.db.dbType=mysql
store.db.driverClassName=com.mysql.jdbc.Driver
store.db.url=jdbc:mysql://192.168.137.47:3306/seata?useUnicode=true&rewriteBatchedStatements=true # 改成个人数据库地址
store.db.user=root
store.db.password=123456
store.db.minConn=5
store.db.maxConn=30
store.db.globalTable=global_table
store.db.branchTable=branch_table
store.db.distributedLockTable=distributed_lock
store.db.queryLimit=100
store.db.lockTable=lock_table
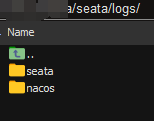
store.db.maxWait=5000在 /path/to/seata 中创建一个日志的目录 用来存放日志信息
mkdir -p -m 777 /path/to/seata/logs准备工作完成后,就可以启动容器了
docker run -p 8091:8091 -p 7091:7091 --name seata-server --restart=always -e SEATA_IP=192.168.137 -e SEATA_PORT=8091 -v /path/to/seata/application.yml:/seata-server/resources/application.yml -v /home/zfc/java/seata/logs:/root/logs -d 8fe270cf5b11注意 8fe270cf5b11这个是我的容器id,因为我的个人镜像名字太长,所以使用id来启动
启动后,logs目录下会多出几个日志文件
这是启动的容器,可以看到在 7091端口监听

打开浏览器,输入 ip:端口 ,就可以看到控制台的信息了!大功告成!

希望能对你有帮助,而不是一直在踩坑的路上,一直浪费时间
seata 部署
本文采用 CC BY-NC-SA 4.0 许可协议,转载请注明出处。
评论交流
欢迎留下你的想法